

DIY Rodent Proofing: A Practical Guide for Buildings and Garages
Rodents can cause far more damage than many people realise. Their presence in a building or garage is far more than an inconvenience. It can lead to gnawed wiring and chewed insulation, as well as risk of nasty infections. These can be dangerous and even life-threatening. The good news is that DIY rodent proofing doesn't always require expensive intervention.
With some practical know-how and the right materials, you can take on DIY Rodent Proofing for Buildings and Garages yourself and dramatically reduce the risk of problems from rodent damage.
What Is DIY Rodent Proofing?
DIY rodent proofing involves making physical changes to an area or property to keep rodents out. This is distinct from using repellents such as peppermint oil.
There are three main principles; exclusion, prevention and maintenance.
Exclusion - How to Identify Rodent Entry Points
Rodents are able to fit through surprisingly small holes. A mouse can fit through a hole as small as a pencil whilst a rat only needs an opening the size of a thumb. The first stage in preventing this is to perform a thorough inspection.
Rats and mice often follow walls, pipes and structural edges and use tiny gaps and openings which can be hard to spot. Start with the outside of the building, paying particular attention to;
Spaces under doors
Openings around water, waste and gas pipes, as well as around cables
Cracks in brickwork and concrete
Damaged air bricks and grilles for ventilation
The edges of roofs, eaves and soffits
Drains and inspection hatches
Head inside and check for droppings, gnaw marks, shredded nesting materials and greasy marks.
Check the perimeter. Make sure you focus on the bases of walls, garage doors and the points where gas, water and electrical cables enter and leave the building. These are prime sites for rat carriageways.
Roof lines, eaves and venting systems are common access points. These are easily overlooked.
Use torchlight at night. Buddy up with a friend and use a torch to look for light shining through gaps to highlight entry points. With one of you inside and one of you outside the chinks should be easily visible.
Make sure you seal any openings you find immediately to prevent future incursions.
How to Rodent Proof Your Building Step by Step
Seal the small gaps and openings using the materials listed below. If it is an irregular shape use mesh before sealing it.
For larger gaps use cement, concrete or a metal rodent-proof covers.
Repair windows and doors if they are damaged, add door sweeps.
Use proprietary drain and drain pipe covers.
Once the repairs are complete, check for signs of ongoing activity to make sure you have solved the problem.
Best Materials for DIY Rodent Proofing
All sealants are not created equal. Rodents can easily gnaw through foam, wood and many plastics. You need to make sure that you use barriers which are tough, resistant to chewing and long lasting. These are the best options for DIY rodent proofing;
Steel wool or wire mesh (6 mm or smaller). This is ideal for pushing into cracks and gaps which are irregular in shape. Use a seal to keep it in place.
Hardware cloth or welded mesh. Perfect for covering over vents, drains and large openings. Ensure it is galvanised to stop it rusting and failing.
Concrete or mortar. This is great for larger gaps in masonry and around the base of walls.
Rodent-proof sealant or caulk. Ensure you choose a strong and flexible sealant designed for pest exclusion. These are often reinforced with grit or fibres to make them very hard to chew through.
Sheet metal or aluminium flashing. This is excellent for reinforcing wekened parts of wooden doors and garage frames. Use this anywhere you think a rodent might chew through.
Reinforce Doors and Windows
Garages are particularly vulnerable to rodent ingress. This is because the doors and thresholds are often not well fitting. You can install door sweeps on external doors and check that the garage door fits tightly to the ground. On vents and windows, make sure you fit mesh screens that allow air to flow but keep the rodents at bay.
Prevention
Maintain Good Habits. Ratproofing is only effective if you combine it with good housekeeping.
Make sure you clear out clutter from your garage and shed. Otherwise this will provide ideal nesting and harbourage opportunities for rodents.
Store food, birdseed and pet supplies in sealed, rodent proof containers. Metal bins are ideal. Clean up any spillage straight away.
Keep vegetation cut back from walls and doors. This will give rodents cover and allow them to climb up and access hidden entry points.
Maintenance
Once your rodent proofing is complete you need to regularly inspect and maintain the work to keep the problem under control. It is important to inspect after storms, building work or repairs are carried out. this is because damage can create new entry points for the rodents. Look for droppings, urine, oily marks along the floor and walls. There may also be gnaw and bite marks. Make sure areas are clear of debris and clutter so you can inspect properly.
Additional Rodent Protection Using RatMat
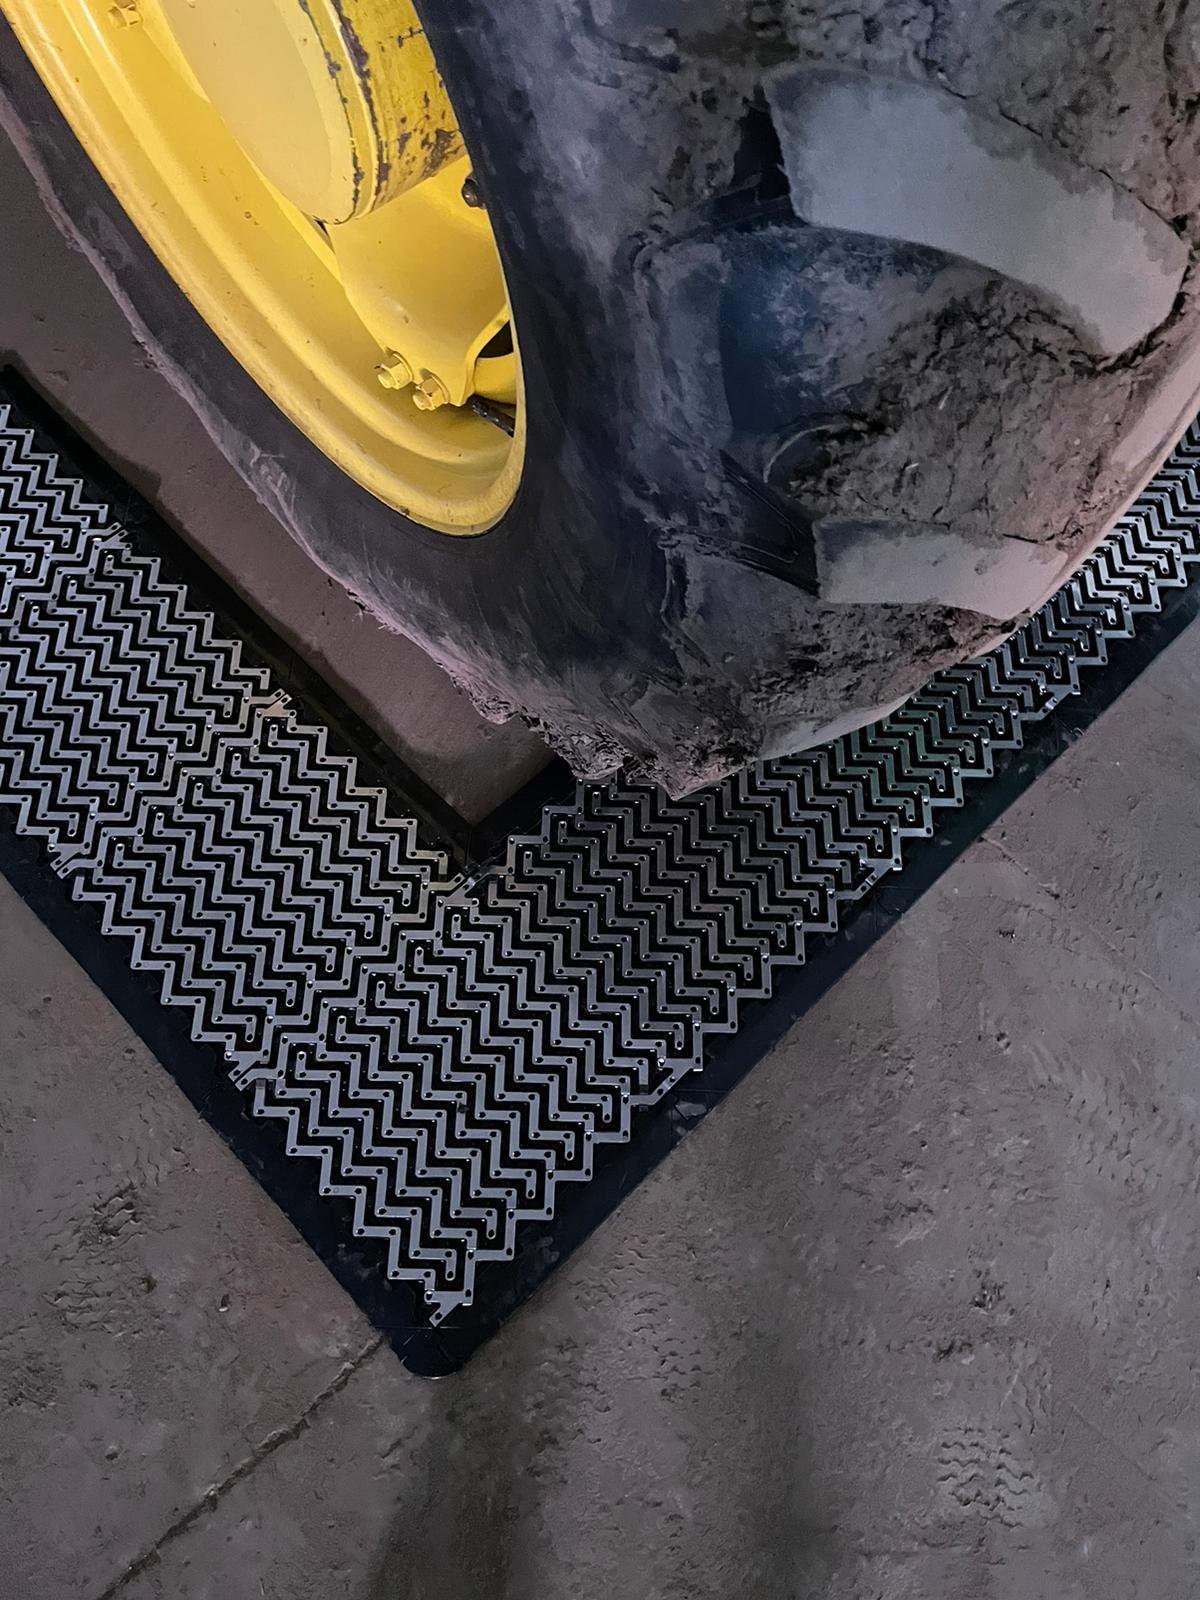
Sealing holes and access points is effective but technology has provided us with new tools to help when all else fails. RatMat is a safe, humane and non-toxic barrier which creates an electrified surface that rodents will avoid. In high risk areas with valuable items such as cars, computer equipment or warehouse stock, RatMat can be an excellent complement to DIY Rodent Proofing for Buildings and Garages, ensuring long-term peace of mind.
Conclusion
Rodent proofing isn't just about dealing with current problems, it is about planning for the future. Prevention is better than cure; inspect your property regularly. Seal even the tiniest gaps using robust materials. This will make your building or garage a fortress against unwanted intruders. For extra security, use electrified flooring for a defended perimeter.
A little effort today can save you headaches and cash tomorrow.







The Meaning of Rats in the Bible: Plagues, Pests, and Purity